
Following on from yesterday’s post about Power BI dynamic titles this next post is to navigate to the filtered page using bookmarks and buttons to show a page filtered differently. The report used in this example is based on ice cream sales of different flavours. We will create a bookmark for each flavour and buttons to navigate to the page with the filter applied.
Creating Bookmarks
- I start by adding a page filter to the report page of the ice cream flavour.
- I filter the report to the first flavour.

- Then from the View ribbon tab, I select Bookmarks Pane.
- I click add to create a bookmark.
I double click on the bookmark name to edit the name. - Change the filter and save new bookmarks for each filter.


Adding Buttons
Buttons allow a user of the report to select a bookmark easily from the same page or another page. This improves the report navigation and helps people use the reports.
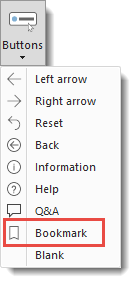
- On a page, from the home ribbon, I select Buttons and click on Bookmark
- With the button selected, in visualisation format, I turn on the button text and enter in a flavour.
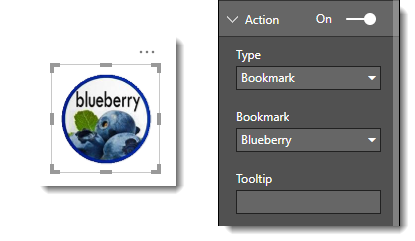
- Further down the format, I expand the Action section.
I change the Type to Bookmark and change the Bookmark to select the relevant bookmark.
- Repeat steps 1 to 3 for each flavour required.

Using Pictures
Pictures can be added from the Home ribbon. One of the properties in the format section of a picture is Action. This means pictures can be used for navigating around the Power BI report.
Complete the Navigation Trip
Once a user has navigated to the filtered report and now wishes to see a different filter they need to be able to navigate back to the initial page. So create a bookmark on the button menu page and then on the report page add a picture or button to navigate back to the menu page.
Conclusion
Bookmarks are a great addition to Power BI reports allowing users of a report to navigate the report. One useful bookmark to add to any report that uses multiple slicers is a bookmark that has all the filters cleared to be a reset button.
