
Power BI has several steps you need to take before you expose your Visuals to a group of people to use.
1️⃣ Get Data. This brings your data into the domain of Power BI Desktop so you can work with a copy
2️⃣ Transform Data. This optional step allows you to add, remove, combine and manipulate the copy of your information into a set of data you can then visualise
3️⃣ Visualise. Present the information in a visual form to add easy-to-read meaning and insights. Show trends or identify hotspots.
All of these steps are covered in the Challenge.
What if I want to publish this data and share insights with the team?
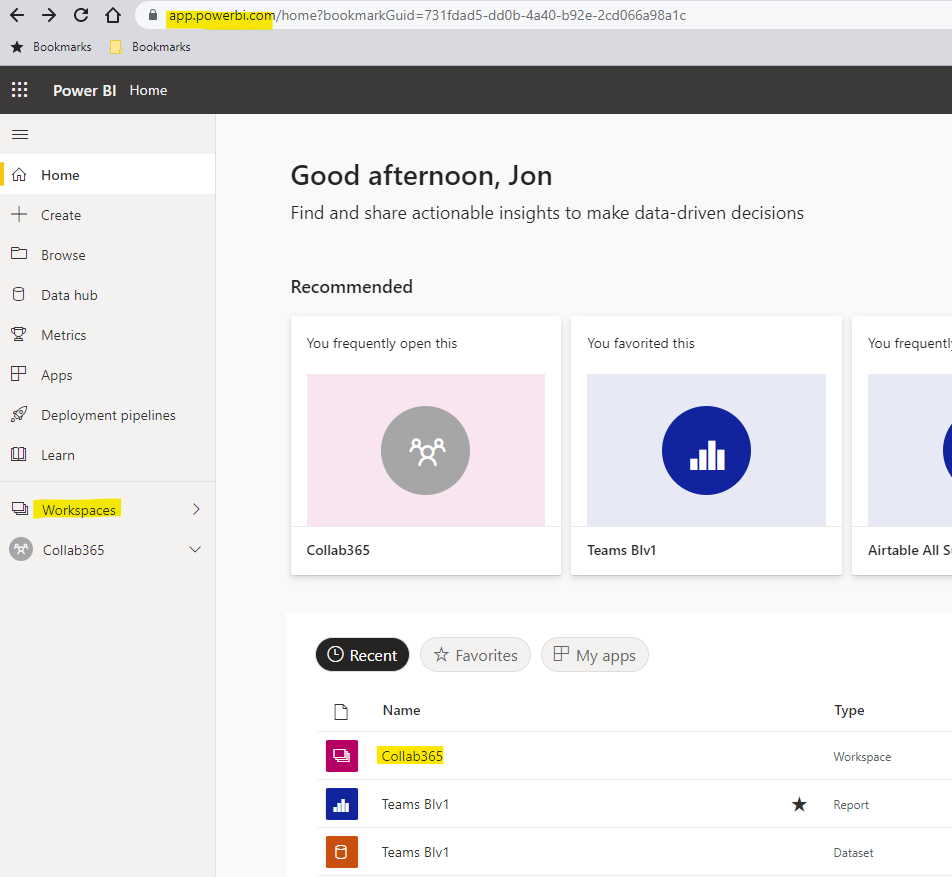
4️⃣ Publish. Saving and Publishing your Page from the Power BI desktop to the Web Service requires you first to have a Workspace in the Power BI service (https://app.powerbi.com/). Select the workspace you have created after pressing Publish within Power BI desktop.
An Example Workspace created using app.powerbi.com
Publish to a Workspace from with Power BI Desktop

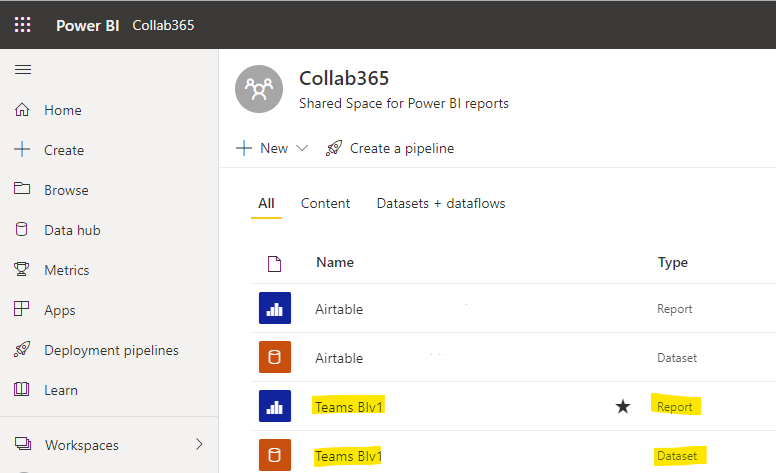
Once you publish, if you navigate to your workspace, you have two new items:
- A Report
- A Dataset
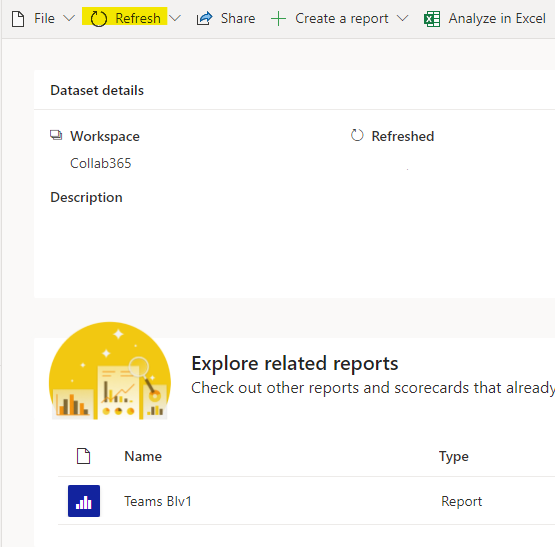
You can refresh the visuals on the Report but the data will remain the same as the version you published originally.
To Update the Data
5️⃣ Refresh The Data Model. To get the latest data from your Power BI dashboard, either click into the Dataset and select Refresh
Or Refresh by hovering over the dataset in the Workspace Dashboard and choosing Refresh
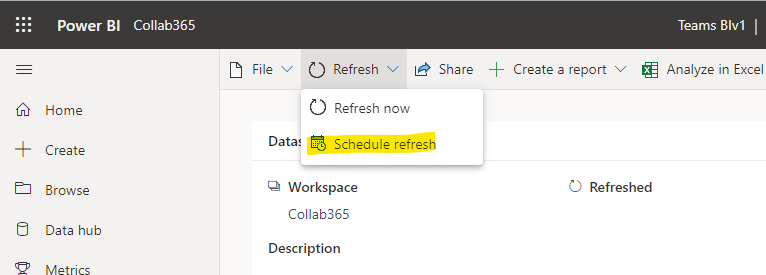
Scheduled Refresh
There is also another option to keep the Report up to date. You can schedule a refresh.
This is done again either by hovering over the Dataset in the Dashboard or Clicking into it and Selecting Scheduled Refresh (under the Refresh Option in the menu)
You can also configure the refresh from the Settings for your Dataset.

(Note: If You have trouble with refreshing at first, check the Data Source Credentials part of the Settings for your Dataset. You may need to configure these. You may also need to be patient as the refresh is not immediate and may take time to show as successful once you first add the credentials)
