
Today I would like to write a few words about branding. I have to make branding for my company internal site and I would like to say that it was something new to me. I was working with SharePoint online and current post is based on this environment. Let me point one thing at the begging. Microsoft in general is against branding, especially if you want make some deep changes. I understand that, as I had cases that after some modification in SharePoint itself branding was destroyed. It’s very important in case of Office 365 where some changes can be done by Microsoft without prior information. But in some cases site should look nice to the users, for example if it’s central site of the company, with marketing or business information. It should be good looking. I will present my approach from my point of view as the guy who’s not graphic skills.
At the begging we need design for our site. We have to remember that we should avoid some features like flash or silverlight. On other hand we can get really amazing results with HTML 5, javascript, Bootstrap, etc. You can find a lot of free designs on the Internet. For example you check this site. Let’s download our template and then open it in Visual Studio or other editor. At the begging we should remove everything which will not be used in our project, like scripts, images, pages, etc. Usually we will stay with single page, scripts and css’s. Also we should check if our project is not calling to external sites. It’s not big deal but we should remove everything with external http links. In this case user will get warring about non secure content in every page refresh – it will very annoying to him. One more thing – images. Our master page can use for example slider or other solution with images. But it’s important to put images in Master Page Gallery! Of course we can use image library and put the link in html code. Unfortunately in this case we will see delay during image loading, which make this approach not useful to us. The last project, which you can see below was 1.8 Mb. And the images were half of this size. Also big size has Font Awesome.

- Master Page

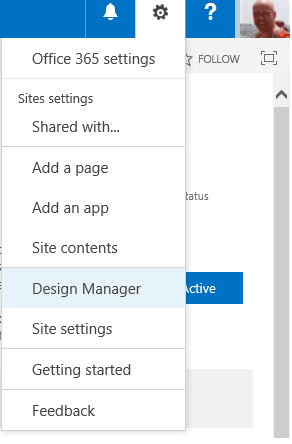
Ok, let’s move to the SharePoint. To make our branding possible we have to activate for our site collection publish feature (Publishing Infrastructure): Site settings – > Site Collection Administration – > Site collection features and here we turn on SharePoint Server Publishing Infrastructure. It will take a while… Then we are going to Site Settings -> Site Features and turn on SharePoint Server Publishing. We can check that everything is in place if we can see Design Manager option in the menu.

- Design Manager
And the design manager is new option in this version of SharePoint. More information you can find at the MSDN site. This amazing tool provide to us possibility to convert html project into master page. Let’s move to Design Manager page. We will see there menu as below:

- Design Manager Menu

There are following options there:
2. Manage Device Channels – here we can configure display options base on device
3. Upload Design Files – files loading to the server
4. Edit Master Pages – we can convert our project into master page here, and also we can create some SharePoint snippets
5. Edit Display Templates – we are checking display templates there
6. Edit Page Layouts – we create here new page layouts
7. Publish and Apply Design – and here we can publish our master page
8. Create Design Package – Finally we can create package which can be reused in other projects.
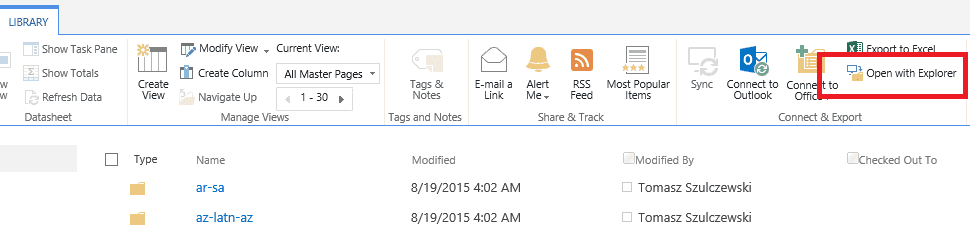
It’s time to move forward. Let’s send our data to the Office 365 server. From design manager menu we select option Upload Design Files. We will see link to the Master Page Gallery. We can click it and the library should be mapped as local network disk. And there we should load our data. One thing. This option works well with internet explorer, even Windows 10 Edge doesn’t work correctly with this feature. If the previous operation wasn’t successful you can copy the link, open new card in IE and after displaying content of the master page gallery we can press option: Open with Explorer.

- Master Page Gallery
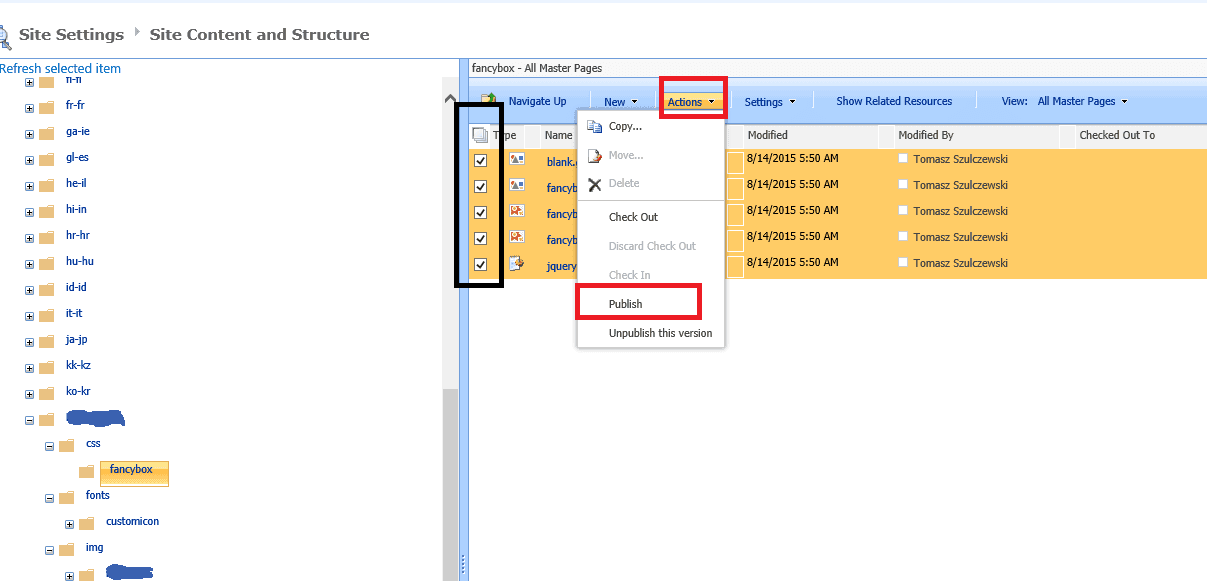
After some time content of the master page folder should be mapped as network drive. If it’s still doesn’t work you can check this link to try solve the problem. Create folder for our master page and load content of our project – do not load single files into the root, as we get a mess there. Next step is publishing of all items which were sent to the server. To avoid clicking item be item we can use option: Site Content and Structure, where we can publish multiple items wing one click.

- Site Content And Structure
After publishing all files it’s time to the final move. Go to the design manager and select option: Edit master pages, and then: Convert an HTML file to a SharePoint master page. We select our html page, which should become a master page. After some time our brand new master page should become visible. It’s important that the status should be Conversion successful.

- Convert to master page

If we get some errors we should remove code which is the source of the problem. Ok, it’s time to publish our master page. Again move to master page gallery and again select our html file and press publish. We do not click on the master page, which exits now there!
Small remark here. We always work with HTML file, not master page itself. It’s the SharePoint task to synchronize all changes which we make to the page.
This article was originally posted at my personal blog.
