
- Have you ever wanted an easy way to make an internal announcement to your staff?
- Do you need the announcement to expire after a certain date? (There’s no point telling staff about the Christmas party in January!)
- Would you like your announcements to appear in prominent places, such as your Intranet home page?
If you answered ‘yes’, then I am going to demonstrate how to create, edit & delete an announcement as well as demonstrate how to add it to an existing SharePoint page.
An announcement list can be really useful when you want to share news, updates or provide reminders about events amongst many other things. Announcements can be viewed by end users from the ‘Announcement App’ placed somewhere within your Intranet site – the trick here is to place the web part in a prominent place where people regularly visit so they see the announcements really easily.
In this post I will show you how to:
- Create an Announcement list
- Add the Announcement web part
- Create a new Announcement
- Edit the Announcement
- Delete an Announcement
- Discuss limitations and workarounds
Create an Announcements list on your site
To create the announcement, you firstly you need to create an ‘Announcements list’. (This is a special type of SharePoint list).
- Navigate to the site where you wish to add an announcements list, then from the Settings menu select ‘Add an app’.

- You will then see a list of all of the available applications you can use on this site. Select ‘Announcements’.

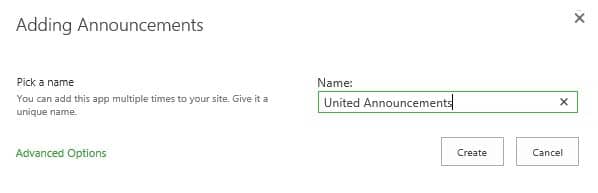
- Give your Announcements list a name and click ‘Create’.

- The new announcements list will then appear in the Site Contents view for this site.


Adding the Announcement Web Part
Once the Announcement list is created it’s a good idea to create a public link to it so that your end users can easily find and view all future announcements. This is achieved by adding the Announcement web part into your site.
- From the Settings menu, select ‘Edit page’.

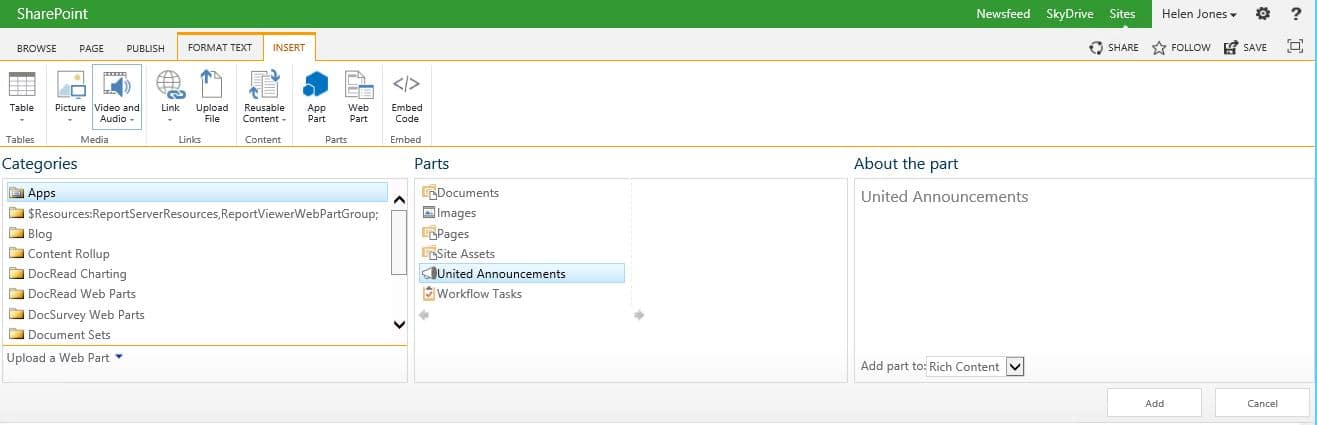
- Then select the ‘Insert’ tab from the ribbon menu.

- From the ‘Apps’ category, select the Announcements list you have just created and click ‘Add’.

- The Announcements app will get added to the page.

- When you are happy with the placement of this app, publish the page as per your normal routines (check in/ approve & publish etc.).


Create an Announcement
Now you have all of the announcement infrastructure ready, you can create your first announcement. Creating an announcement needs no special permissions and can be achieved by following these instructions.
- There are several ways to access the announcement list
- Click on the Announcement heading on your web page
- From the Settings Menu, select Site Contents, then the Announcement list
- Whichever way you you access it you will end up here:

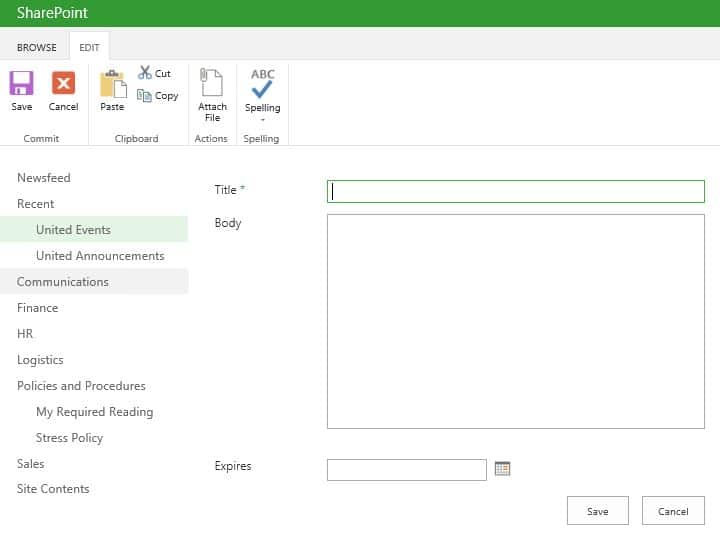
- Click ‘+ new announcement’

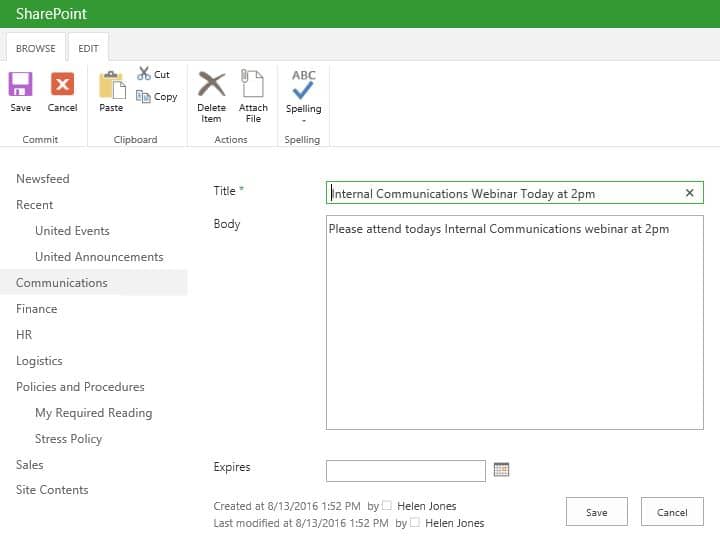
- Input the details of your announcement and also add an expiry date if needed (see note below). Click ‘Save’.
Expiry date: Adding an expiry date is really useful if your announcement will become irrelevant after a certain date. Once the expiry date arrives the announcement will no longer be displayed in the announcement web part. Note the announcement will still exist, it will simply not be displayed.

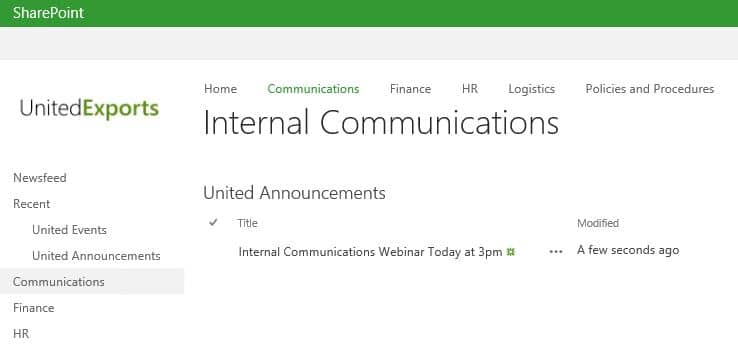
- The announcement will appear in the list

- When a user clicks on the announcement they will be able to view all of the details.


Edit an Announcement
Should you need to make any amendments or changes to the original announcement you can easily achieve this by:
- Clicking on the original announcement to access the details.

- Select ‘Edit Item’

- Make the necessary changes (in this instance I’ve delayed the time by 1 hour).

- Click ‘Save’ and the new Announcement details will be reflected in the Announcement list.


Delete an Announcement
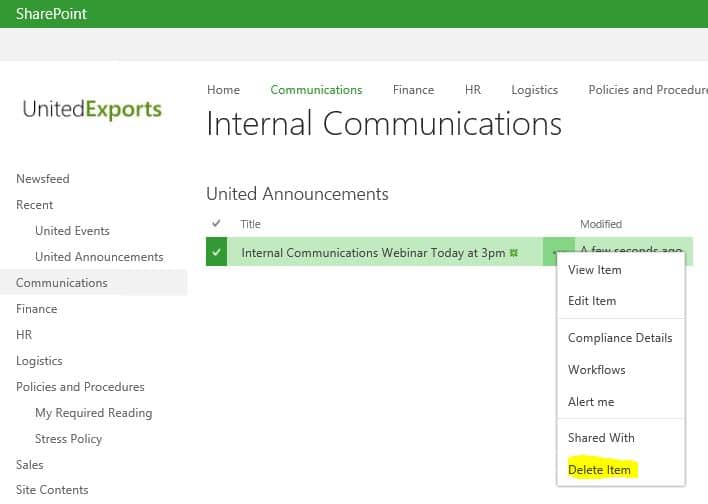
If you wish to delete an announcement there are a couple of ways you can achieve this..
- You can simply click on the ellipsis to the right of the announcement, and from the following menu select ‘Delete Item’.

- Or click on the announcement itself to open it, then select Delete Item from the ribbon menu.


Limitations and Workarounds
Announcements are great, but there is no automatic way to push them out in front of a particular audience – you have to rely on people finding them. A couple of ways to increase their visibility are to
- Create a SharePoint Alert when a new announcement is made.
- Use a third party tool (such as DocRead) to push the details to a specific audience and require that they acknowledge it.
