
In my previous blog, we have just completed configuration of Microsoft SharePoint 2016 successfully. Now, we are ready to configure our first Site Collection in the SharePoint 2016 environment.
So, let’s continue..
SharePoint 2016 Installation Series:
This series of posts will explain exactly how to install SharePoint 2016 on Windows Server 2013
- Install Windows Server 2013 R2, AD and the Pre-reqs
- How to install SQL Server 2014
- How to install the SharePoint 2016 prerequisites
- How to configure SharePoint 2016 with the config wizard
- How to create and configure your first Site Collection (this post)
Steps:
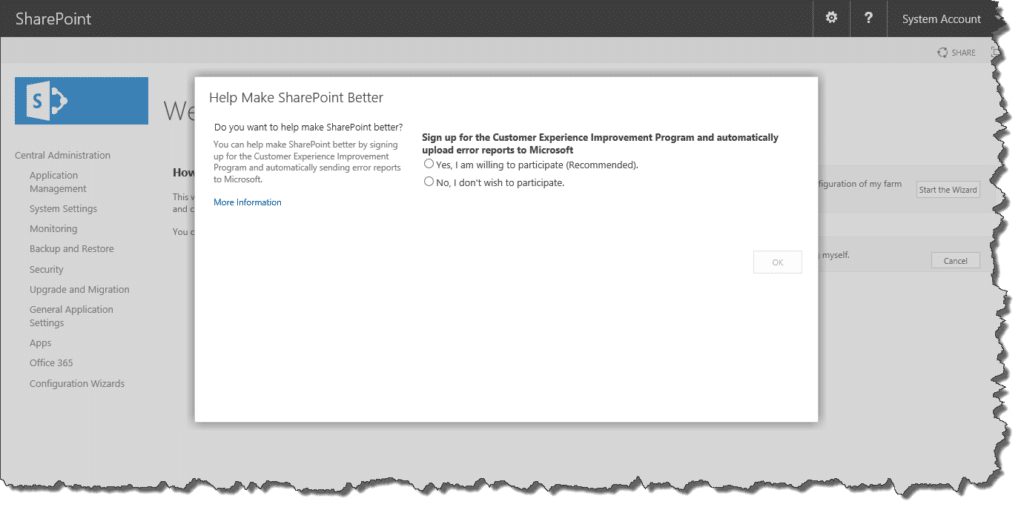
24. After immediate completion of configuration the SharePoint Central Administrator website gets opened with a child window asking whether you wish to participate in the Customer Experience Improvement Program. Select “Yes/No” option and click on the OK button to continue..
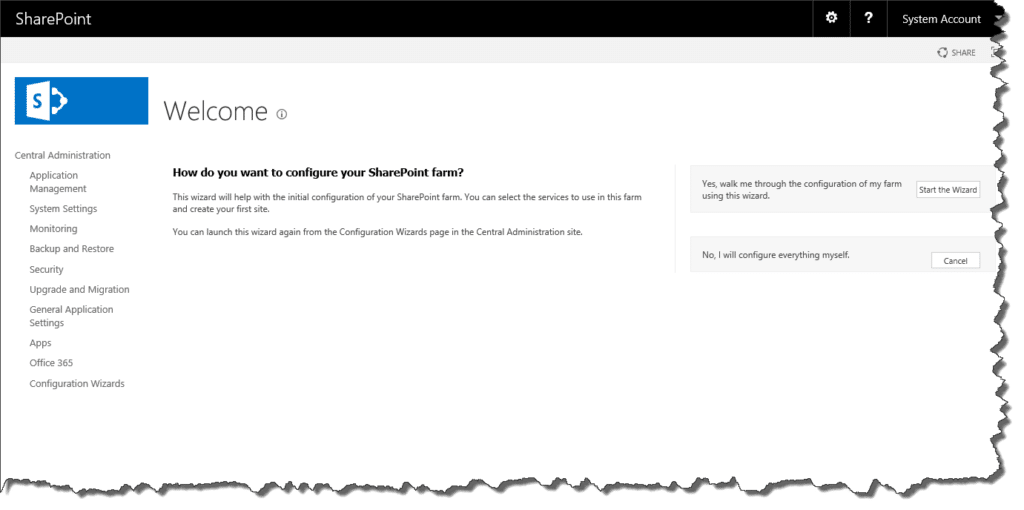
 25. The Welcome screen now appears asking how you wish to configure your SharePoint Farm. Select the “Start the Wizard” option on the screen to configure the farm.
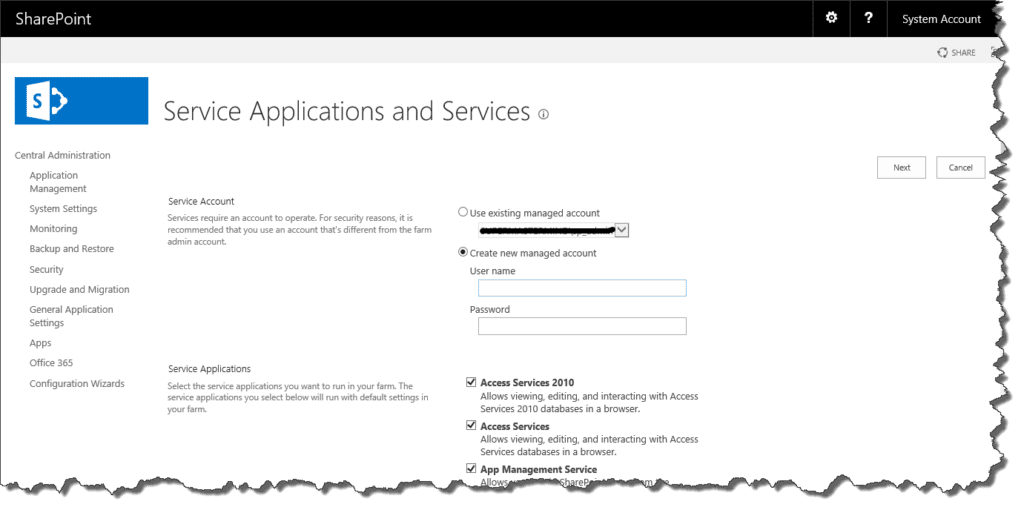
 26. On the next “Service Applications and Services” screen you can select the service to configure for your farm. Also, you can create a new managed account using this screen or you can use an existing account to configure your SharePoint 2016 farm.
 27. On successful setup of the farm, SharePoint creates a default web application on port 80 in the background. You will then be taken to the SharePoint Central Administration page.
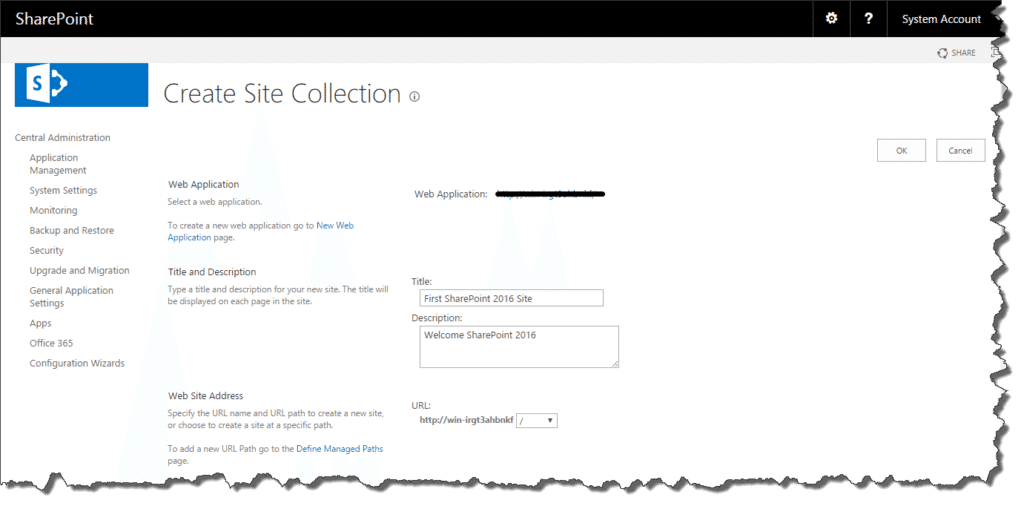
28. Although this is not mandatory now (you can do this step later if you prefer), we’ll create a top level site collection in the Default Web Application site. You need to provide title for your site collection and description. As we are creating a top level site there is no need to select anything in URL.
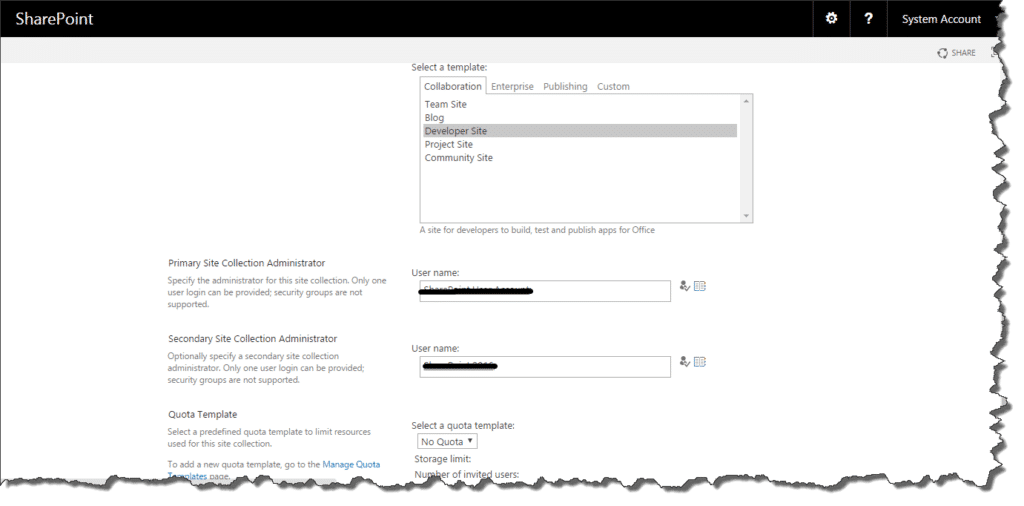
 29. On the following screen you have to select the template for your Site Collection. I have selected Developer Site. Also you have to provide Primary and Secondary Site Collection Administrator login ID.s.
Click on the OK button to continue…..
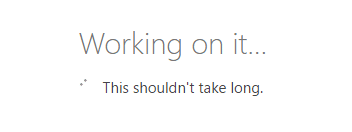
 30. You will get very used to seeing the next message as you begin to use your new SharePoint 2016 environment, please wait for the process to finish.
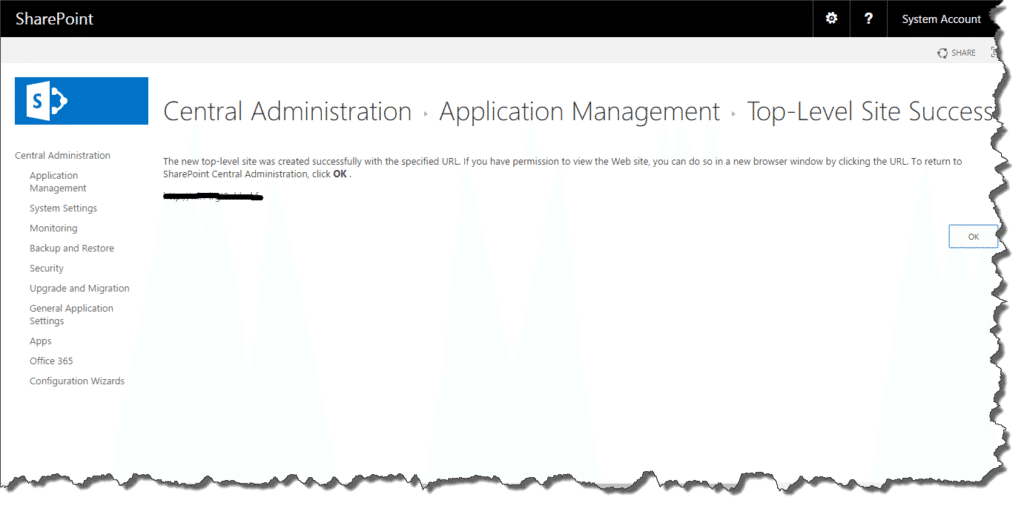
 31. The next screen confirms that the Top Level site collection has been created successfully. Click on the OK button.
 32. Now you can browse the Developer Site Collection you have just created. You can check apps, features and the new setting options within SharePoint 2016.
 We are ready to develop apps for SharePoint 2016 using this developer site.
I hope, this entire series of blogs will be helpful to all.
