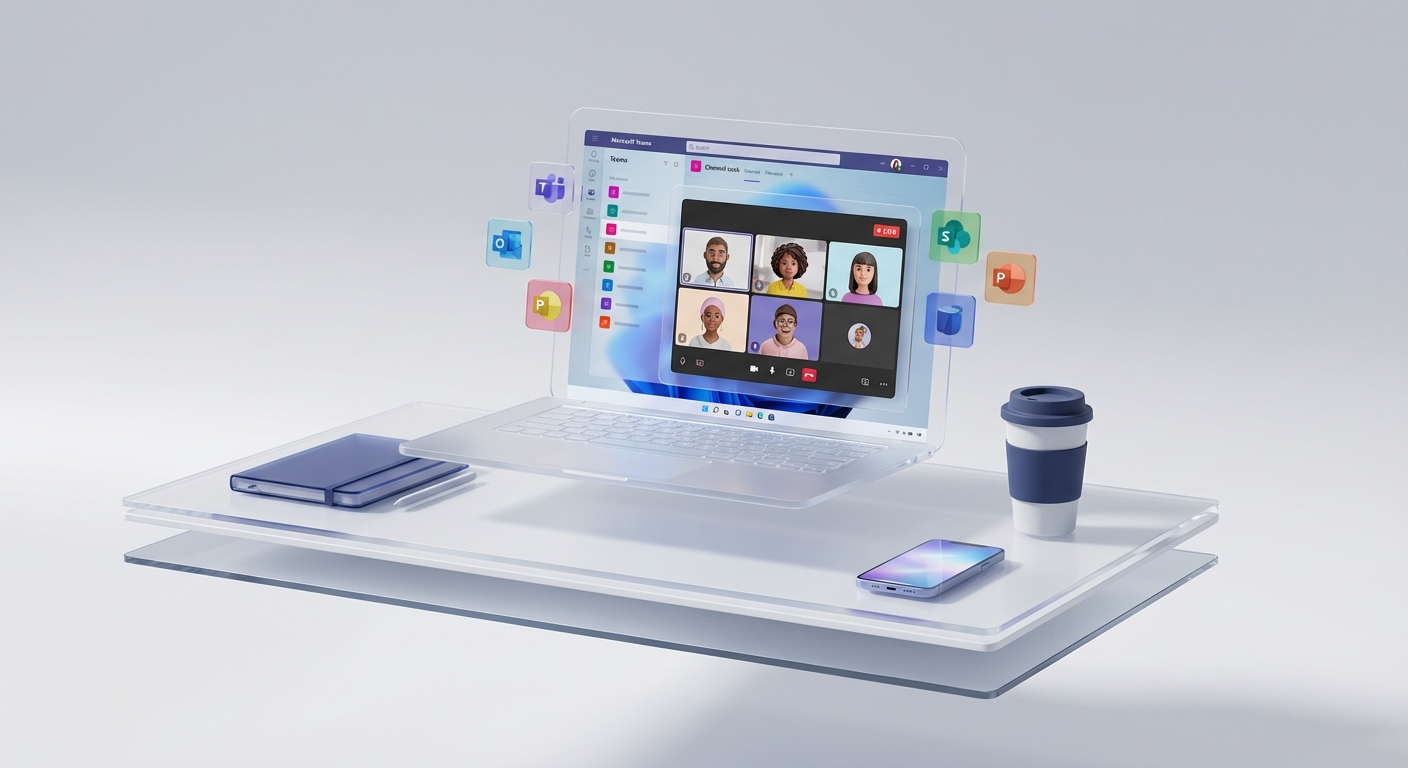
Microsoft Teams brings chat, channel conversations, meetings, calls and Microsoft 365 files into one application. Start by learning the difference between a chat and a channel. Most first-day confusion comes from putting the right message in the wrong place.
Your layout may combine chats and channels or show them separately. Both are current.
Chat or channel?
Use a chat for a private conversation with named participants. It may be one-to-one, a group chat or the chat attached to a meeting.
Use a channel for work that belongs to a team, project or department. Everyone with access to that channel can find the conversation and its files.
Channels can be:
- standard, visible to the whole team;
- private, visible only to selected team members; or
- shared, available to selected people without making all of them members of the parent team.
Owners and administrators control who can create channels and which types are permitted.
Understand the current navigation
Teams can use a combined view, where chats and channels appear together, or separate Chat and Teams views.
To change it on desktop, open the list options, select Customize view, then choose Combined or Separate.
The current experience also supports favourites, custom sections, filters and Quick views. If a tutorial shows a different left rail, do not assume your account is broken. Check the view setting and your organisation’s rollout.
Send your first message
Select New message, add the person or people in the To box, write the message and select Send.
In a channel, start a new post or message according to the channel’s Posts or Threads layout. Reply to the existing conversation when your message belongs to it.
Use @ and select a person’s name when that person genuinely needs a notification. A mention does not prove the message was read.
Join or create a team and channel
To join an available team, open the teams and channels list and use New items > Join team, or use an invitation or team code supplied by the owner.
Creating a team or channel may be disabled by policy. If creation controls are missing, ask an owner or Teams administrator rather than inventing a duplicate workspace.
When creating a channel, choose its audience before adding content. Moving work between standard, private and shared channel designs later can have storage, membership and governance consequences.
Meetings and calls
Open Calendar to join or schedule a meeting when your account includes the Teams calendar experience.
Before joining:
- check the meeting identity and organiser;
- choose the right microphone, speaker and camera;
- mute before entering a busy meeting;
- inspect the background; and
- join a test meeting if you will present.
Organisers control meeting roles, lobby behaviour and attendee audio or video. Some options depend on policy or licence. Do not promise a feature because another tenant shows it.
Where Teams files are stored
Files shared in a standard channel are stored in the connected team’s SharePoint site. Standard channels use folders in that site’s document library.
Private and shared channels have their own SharePoint sites. Files shared in chats use the sender’s Microsoft 365 file storage and are shared with the chat participants.
This matters when access breaks. Check the file’s actual location and permissions instead of treating Teams as a separate file store.
Guests and external people
Guest access and external access are different.
A guest receives access to a team and its permitted resources through a guest account. External access is mainly for finding, chatting, calling and meeting with people in other organisations without adding them to a team.
Shared channels use another collaboration model. The correct choice depends on the work, tenant settings and both organisations’ policies.
Control notifications
Use filters and Quick views to find unread items, mentions and followed threads. Favourite the conversations that matter and hide or mute low-value noise where appropriate.
Do not use notification settings as the only control for urgent work. Agree an escalation route outside ordinary Teams messages.
Your first-day checklist
- Confirm which account and organisation you are using.
- Choose combined or separate chat and channel navigation.
- Find the team and channel that own your current work.
- Send a harmless test chat.
- Open one channel file and check its permissions.
- Join a test meeting and verify devices.
- Review notifications and presence.
- Ask who owns the team and what should not be stored there.
This guide explains current Microsoft behaviour. It cannot validate your tenant’s licences, policies, retention settings or external-collaboration design.
Get practical Teams administration help
For current Teams and SharePoint decisions grounded in real administration work, join the SharePoint & Teams Admins Space.
Sources
- Explore the new chat and channels experience in Microsoft Teams
- Send and read messages in Microsoft Teams
- Find and join a team in Microsoft Teams
- Overview of teams and channels in Microsoft Teams
- Overview of standard channels in Microsoft Teams
- Guest access in Microsoft Teams
- Manage Teams policies and settings